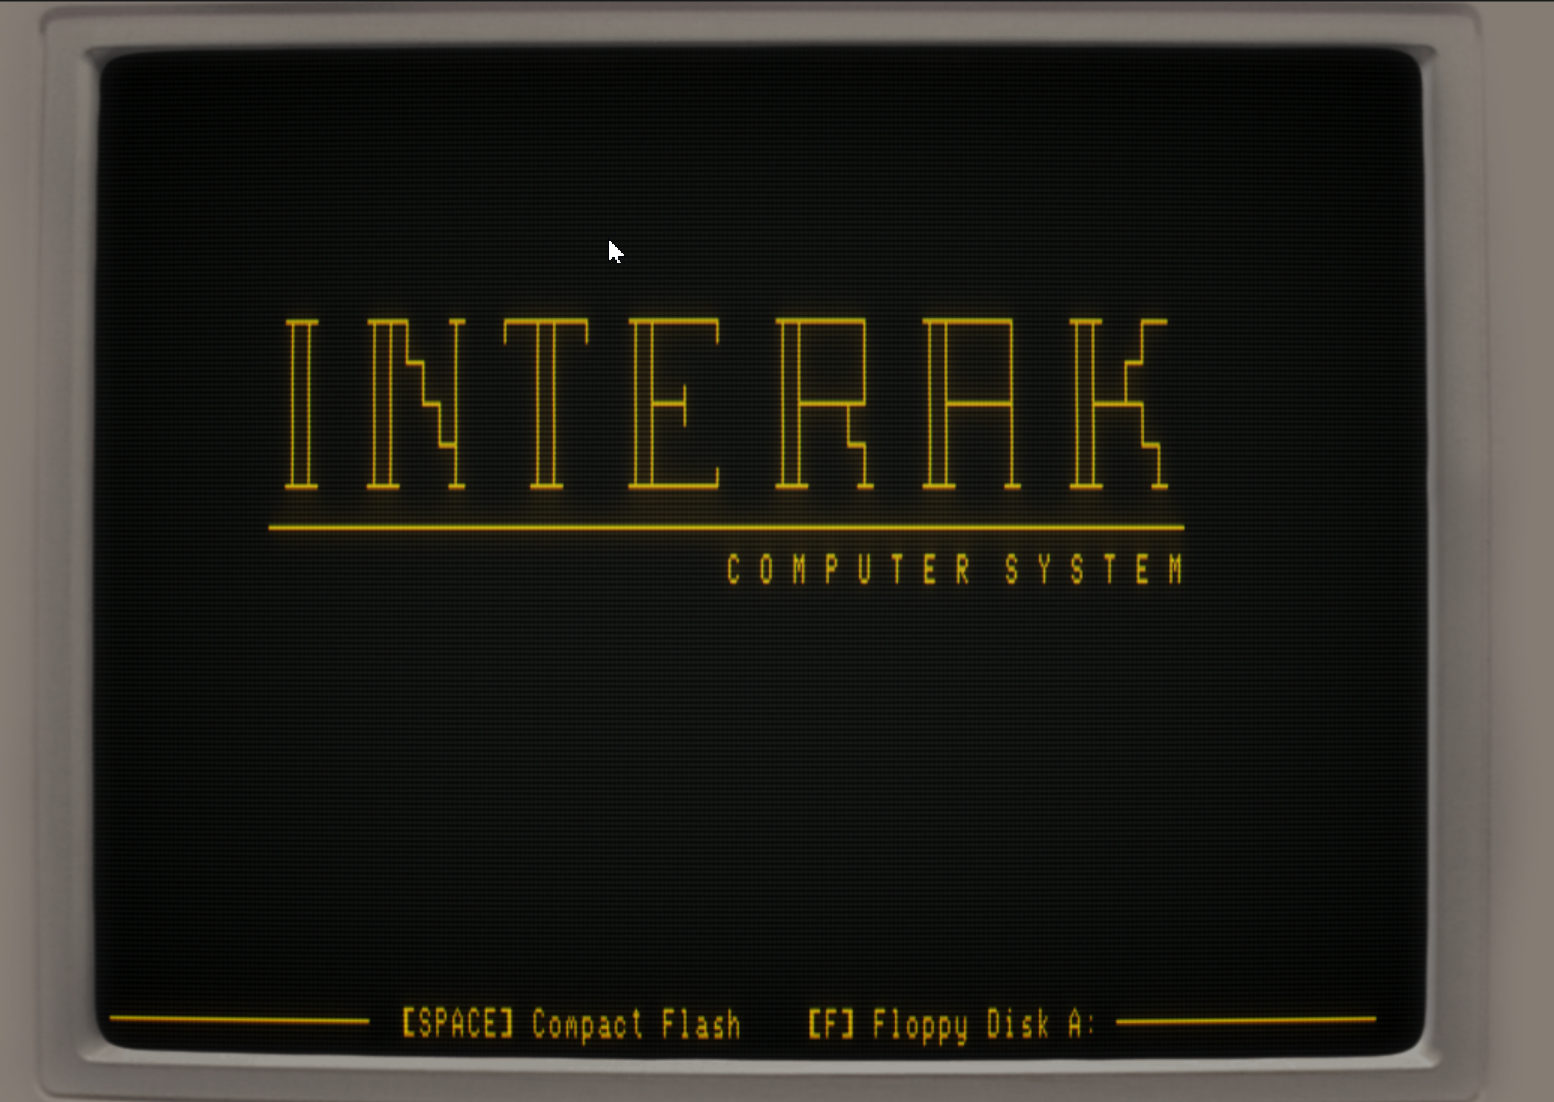
The Interak Computer System is a Z80-based computer from the early 1980’s that was designed, created and distributed by Greenbank Electronics. The Interak was designed as an expandable system, wherein the user created their desired configuration by building and inserting expansion cards. The target audience of this computer was seemed to be largely educational; either for institutions or for home enthusiasts who wanted to tinker with a computer. Remember, this was in 1982, so we were in the boom period of the British Microcomputer golden age.
The literature from Greenbank Electronics sums up their attitude nicely:
Interak is a system of printed circuit boards mostly of our own manufacture, designed to the highest standards for industrial control applications, educational research, and the like, and usually supplied built and tested. Although industry is where the money is, we still have a soft spot for the individual “home” user, working virtually on his kitchen table, and who is usually denied products of the superior quality and design used in industry. If you are such a user we are willing to sell the bare boards to you and all the technical documentation you need to build a system. You can supply your own parts or you can buy the components from us.
Our concern for the “home” user as defined above is not entirely as altruistic as it sounds. It has been our experience that a lot of people who work and specify electronic products in industry and higher education, sometimes also have a home to go to. If we look after the little man who is working to a tight budget, then you can be sure that we will look after you equally well if you work in industry and have hundreds or thousands of pounds to spend on a dedicated control application.
System
The core of computer was designed around a Z80 processor clocked at 4MHz. There was no “standard” configuration, but it generally had a ROM, RAM and some I/O modules. Users could choose add a serial I/O module, a VDU display module, a keyboard module and a host of other things from tape I/O and floppy disk controller boards. One can assume the base system to require at least the VDU and a means of saving/reading programs (either via tape, floppy or serial).
I’d say the minimal base user configuration would have been the CPU, ROM, RAM, VDU driver, Keyboard input and either a cassette or floppy controller.
Bus
It was designed around a custom system bus (ISBUS) which exposes 86 signal lines in a double-sided card configuration. The first side of the bus (the A-side) is the 43 signal “Kemitron” (K-Bus); the second side is the extended Interak system bus. The literature infers that the Kemitron bus is the minimal bus for the system to work, with the B-side lines being used for extended addressing and accessing additional signals.
RAM
The system typically came with 64K of DRAM. The interesting thing is is that the RAM card has an array of DIP switches that allows the RAM to be mapped into the system in 2K banks. This becomes relevant when we look at the memory map.
Memory Map
| Address Start | End | Description |
|---|---|---|
| $0000 | $BFFF | User RAM (min system) |
| $C000 | $DFFF | User RAM |
| $E000 | $EFFF | Boot ROM* |
| $F000 | $F7FF | Base VDU Memory |
| $F800 | $FFFF | Programmable char set |
According to the manuals, the minimum system configuration expects 48K of contiguous RAM in the range of $0000 to $BFFF.
The range from $F000 is typically reserved for the VDU.
Boot ROM
When the system is reset there is a circuit that activates to enable the Boot ROM. This essentially serves to mirror the $E000(*) memory page into the address bus by pulling A15-A13 high. This is required by the Z80 which expects to encounter executable code from $0000 on a reset.
(*) $E000 is the typical address used for the ROM, but it can be configured by the user using a set of 4 DIP switches on the machine, allowing A15-A12 to be modified. This would even allow a ROM to be mapped into $0000 if the user so wished.
The ROM card responds to I/O port $FF; interacting with this port will cause the ROM to be paged out, leaving the RAM to occupy the configured address range instead.
For example, the Interak’s system monitors ZYMON/DMON are programmed to jump to $E000, copy the 2K contents from there to $0000, page out the ROM and then begin executing from $0000. This is quite an elegant method of providing a bootable system without having a permanently enabled ROM.
VDU
The VDU is a memory-mapped into the address space from $F000 onwards. The VDU system is designed around an ASCII display of either 32, 64 and 80 column by 24 row character displays (the latter being a modern community offering). Each VDU needs specialist ROM support; so there’s a ROM version for each of these display types.
Being an ASCII display, addressing the screen is simply a case of writing the character to display at the relevant row/column offset in the VDU’s RAM. The display driver uses the ASCII character code to index into a character ROM and then outputs the pixel image that character represents.
Each character image in the rom occupies 16 bytes, representing 16 rows of pixels; with the pixel data being bitpacked per row into a single byte. The character display itself is only actually 10 pixels high, meaning that 6 bytes are unused.
On the normal VDU card setting the high bit of the character code serves to invert the character that is output. However, on “programmable” graphics systems this serves a separate purpose.
The programmable VDU system has an additional character data bank, but this time stored in RAM and mapped in the range $F800-$FFFF. The user can write their own character set to this space and the VDU will index into this RAM when it encounters the high bit of the ASCII character instead of inverting it. Essentially, it’s equivalent to the ZX Spectrum’s user defined characters but implemented at the hardware level.
I/O
The system had various I/O cards available. These cards were all mapped into the Z80’s I/O port range. They appear to be decoded as 8-bit ports (the high byte is ignored), and unlike the ZX Spectrum the ports were all fully decoded.
- Parallel ASCII keyboard
- Serial I/O
- Tape interface
- Floppy disk interface
- Parallel port printer
Keyboard
The keyboard is a parallel ASCII keyboard. Presssing a key reports the ASCII code of that key to the I/O port $40 which is then used by the system. This is very different to the later PS/2 serial keyboards, which operate very differently and are more complicated to read.
Operating Systems
Greenbank Electronics produced two system monitor programs themselves, ZYMON and DMON. Both programs appear to be pretty sophisticated; the major difference between the two is that ZYMON was centred around users with cassette storage and DMON was aimed for those with floppy disk systems. Remember, this is the early 1980’s so disk drives weren’t hugely common here in the UK.
Additionally, CP/M 2.2 was ported and made available for the system later down the line; being sold by Greenbank Electronics themselves. At this stage users of the Interak would have swapped over to use floppy disks.
Software
Various software packages were published by Greenbank Electronics; including their own BASIC variant (ZYBASIC). I believe that third party software was also available, but there’s not a huge amount of information about this. Naturally, the CP/M 2.2 systems should also support most 8080/Z80 based CP/M software.
Comparison to the RC2014
As the computer was a kit computer, it was shipped in the form of PCBs and components; the user being expected to build and configure them at home. In many ways the RC2014 is a distant ancestor of the Interak, with them both being based around the same core concepts and targetting a similar core audience.
The most notable difference to the RC2014 in my mind is the use of a memory-mapped video RAM. The RC2014 has various serial-based terminal displays but nothing that uses video RAM. Being a ZX Spectrum fan, this method of writing to memory and seeing something on screen appeals to me. I’ll probably do a signal comparison of the bus layouts of the two systems in future.
Why are you telling me this?
I came across the Interak because my friend, Sam, owned one as a youth. I was instantly fascinated by the machine - a Z80-based highly expandable computer from 1982. The first thing I naturally did was search eBay for one; all I found was a handful of modern PCBs created by the community.
When researching the system, I found both a lot of information but also very little information about software or what the system was like to use.
I decided to start trying to emulate the system in my current general Z80-based computer emulator - largely to see what this system was about.
Trying to emulate a system that is essentially physically impossible to get ahold of and without a huge software library is somewhat of an interesting challenge. Largely because it involves trying to reverse engineer the system’s behaviour from the available software or circuit diagrams. It’s quite fun.
I’m at the point of being able to emulate a workable ZYMON system (with either 32, 64 or a 80 char display) with Keyboard input. I’m currently exploring the FDC interface with the aim of getting a DMON and CP/M based system up and running in emulation.
I am quite intrigued as to whether I could physically build a compatible machine from the RC2014 backplane, especially given my experiment of creating my own RC2014 by hand.
In short, there’s a few potentially interesting puzzles to be had here.
References
The main source of information about the Interak is from a tiny community of enthusiasts who are keeping the system alive.
- Keith’s Hackaday Documentation Project - A wealth of scanned original documentation about the system
- Andy Collin’s page - Information about Andy’s Interak and projects
- Mel Saunder’s Hackaday Project - Circuit diagrams for new cards that are being created
- Alan Paton’s page - Projects and pictures